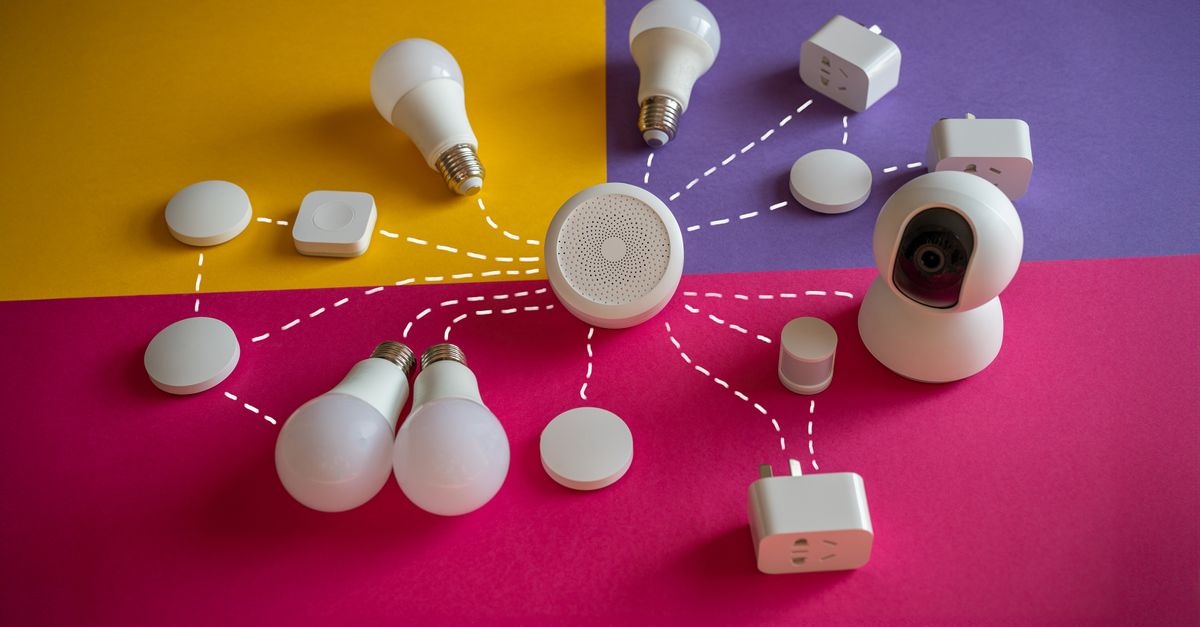
You do not need to be an engineer to enjoy a connected home that saves energy, adds comfort, and makes everyday life easier. With the right plan, you can start small, learn as you go, and steadily build a system that feels natural and dependable. This guide gives you a practical, friendly path—home automation step by step—so your setup grows with your needs, not your frustrations.
Why Start Smart Instead of Big?
Many people try to transform their entire house at once. That often leads to mismatched devices, confusing apps, and routines that break. A better approach is to start with one space, one routine, and one real problem to solve. That way, you learn the basics, avoid costly mistakes, and build a foundation that is easier to expand. By taking your connected home journey home automation step by step, you stay confident and in control, not overwhelmed.
- Lower risk: Begin with a small purchase, validate it in daily life, then add more.
- Faster wins: A single working routine boosts motivation and proves the value of your setup.
- Better reliability: You choose gear that cooperates and scales well.
- Smarter spending: You prioritize devices that solve your top problems first.
Define Your Why and Set a Comfortable Budget
Before buying devices, write down your top goals. This will anchor your choices and reduce impulse buys. Do you want to save energy? Improve safety at night? Simplify morning routines? Strong clarity keeps your connected home focused and avoids feature creep.
Common smart home goals
- Comfort and convenience: Hands-free lights, climate control, voice commands.
- Safety and awareness: Door alerts, cameras, smart locks, leak sensors.
- Energy savings: Smart thermostats, occupancy-based lighting, energy monitoring.
- Accessibility: Scenes and voice assistance to reduce physical effort.
Realistic starter budgets
- Entry (under $150): A voice assistant speaker, two smart bulbs, one smart plug.
- Core (around $400–$700): Add a smart thermostat, a few sensors, and a small hub or a Matter-capable controller.
- Expanded ($800+): Add door sensors, smart lock, a couple of cameras, and mesh Wi‑Fi if needed.
Budget for the long term: plan for an extra 10–15% buffer for mounts, extra cables, and replacement parts. The path works best when you grow your system home automation step by step while staying within your comfort zone.
Build on a Reliable Foundation
Stability matters more than flashy features. Think of your smart home like a house: the network and protocols are your foundation.
Networking that does not let you down
- Strong Wi‑Fi: A modern router or mesh system ensures devices remain reachable. If you live in a larger home or have many walls, mesh can remove dead zones.
- Ethernet where possible: Hard‑wire stationary devices like hubs, bridges, and streaming boxes to reduce Wi‑Fi congestion.
- 2.4 GHz support: Many IoT devices still rely on 2.4 GHz. Make sure your router exposes and stabilizes this band.
- Device limits: Consumer routers have soft limits. If you exceed 40–60 devices, a better router or dedicated access points help reliability.
Protocols and ecosystems: choose with care
- Matter and Thread: The latest open standard (Matter) aims for broad compatibility. Thread provides low-power mesh networking. A Matter controller and Thread border router (often built into modern speakers and hubs) can simplify setup.
- Zigbee and Z‑Wave: Mature, reliable mesh protocols with low power usage, popular in sensors and switches. Usually require a hub.
- Wi‑Fi and Bluetooth: Common for plugs, bulbs, and cameras. Wi‑Fi is high bandwidth, Bluetooth is often used for initial setup or low-energy sensors.
Select one primary ecosystem for control and routines, then add devices that work natively with it. Popular choices include Amazon Alexa, Google Home, Apple Home (HomeKit), Samsung SmartThings, and Home Assistant. This home automation step by step approach ensures you do not end up juggling five different apps for basic actions.
Start in One Room With One Routine
Pick a room you use daily—like your bedroom, entryway, or kitchen—and define a simple outcome. For example: when you come home at dusk, turn on the entry light and play soft music. Or at bedtime, dim the bedroom light and lower the thermostat.
Easy starter device ideas
- Smart bulbs: Instant gratification for lighting scenes and schedules.
- Smart plugs: Automate lamps, fans, and coffee makers without replacing the device.
- Motion or contact sensor: Trigger lights when someone enters a room or opens a door.
- Voice assistant speaker: Control hands‑free, run scenes, and act as a Matter controller.
Home automation, step by step: a first routine
- Choose the ecosystem: Alexa, Google Home, Apple Home, SmartThings, or Home Assistant.
- Set up the hub or controller: Plug it in, update firmware, connect to Wi‑Fi or Ethernet.
- Add one smart bulb: Pair it via your ecosystem app. Test on/off and dimming.
- Add one trigger: Pick a motion sensor or a schedule like sunset.
- Create a scene: Name it Welcome Home. Include lights on at 60% and a warm color.
- Make the automation: If motion after sunset, activate Welcome Home.
- Test in daylight: Temporarily remove the sunset condition to validate the trigger, then restore it.
- Refine: Add a 10‑minute auto‑off if no motion, to save energy.
- Voice control: Link your scene to a phrase like Good evening.
- Document: Note what worked and what you want to improve.
By completing this carefully, you master the basics—pairing devices, building scenes, using triggers, and troubleshooting. That is the spirit of home automation step by step: one working routine at a time.
What to Add Next: Device by Device
Expand deliberately based on the success of your first routine. Consider the following categories and add only what you will use every week.
Lighting that feels natural
- Dimmers and smart switches: Great for larger spaces and for guests; they work even when someone uses the wall switch.
- Tunable white and color bulbs: Shift to warmer temperatures in the evening; use brighter cooler light for tasks.
- Motion‑based lighting: Bathrooms, hallways, closets, and pantries are perfect places for hands‑free lights.
Start with two or three fixtures to learn what brightness and sensor timings feel right. Continue growing home automation step by step by standardizing on one brand or protocol per function to reduce complexity.
Climate and comfort
- Smart thermostat: Schedule temperature changes, use occupancy or geofencing, and monitor energy use.
- Temperature and humidity sensors: Improve comfort in problem areas like basements or attics.
- Fans and shades: Automate with scenes tied to weather or sunlight.
Begin with a single thermostat and one extra sensor in a room that often feels too hot or too cold. Build rules like if the room exceeds 78°F in the afternoon, close shades and run the fan. This is another chance to practice home automation step by step without overspending.
Security and awareness
- Smart locks: Keyless entry, user codes, and auto‑lock after a delay.
- Door and window sensors: Know when a door opens; use as a trigger for lights.
- Video doorbells and cameras: Get alerts for motion or people; integrate with lights for better night footage.
Security devices should prioritize reliability and privacy. Favor local recording where possible, enable two‑factor authentication, and change default passwords. Expand home automation step by step by starting with your most‑used entry point and learning notification settings before adding more cameras.
Entertainment and voice
- Smart speakers and displays: Centralize voice control and view live camera feeds.
- TV and media control: Scenes that dim lights and switch inputs for movie night.
- Multi‑room audio: Stream music to grouped speakers with one command.
Entertainment is where carefully designed scenes shine. Instead of juggling apps, a single phrase can prepare the room instantly. Add devices gradually so your household learns new habits at a comfortable pace—the essence of home automation step by step.
Energy and appliances
- Smart plugs with energy monitoring: Identify vampires and schedule off times.
- Smart power strips: Cut power to accessories when the main device turns off.
- Water leak sensors: Early warnings that can prevent costly damage.
Track energy first, then automate. Target the biggest draws—space heaters, window AC units, dehumidifiers, and entertainment centers—and automate conservative schedules to save real money.
Scenes, Routines, and Automations That Stick
Every effective smart home relies on clear triggers, thoughtful conditions, and predictable actions. Start with simple logic and then layer complexity only where it helps.
Triggers, conditions, and actions
- Triggers: Motion, contact, button press, schedule, sunrise/sunset, geofence (arrival or departure).
- Conditions: Time windows, presence of specific people, light level, mode (Home/Away/Night).
- Actions: Turn devices on or off, set levels, send notifications, run scenes, adjust thermostat.
Practice one new concept per week—presence, then modes, then time windows. It is the reliable way to progress home automation step by step without losing track of what each routine does.
Everyday routine ideas
- Morning: Slowly brighten bedroom lights, start coffee via a smart plug, and set the thermostat to a comfortable temperature before your alarm.
- Leaving home: Turn off all lights, lock the door, lower the thermostat, and pause music when your phone leaves the geofence.
- Arrival: At dusk, turn on the porch light and a hallway light; play a welcome playlist.
- Bedtime: Dim lights to 10%, arm sensors, lock doors, and reduce HVAC to eco mode.
Advanced workflows without the headache
- IFTTT and webhooks: Connect services quickly for one‑off needs.
- Home Assistant: Local control and powerful automations; consider later in your journey.
- Node‑RED: Visual flow‑based logic for complex conditions and actions.
Build confidence first in your main ecosystem, then add advanced tools as needed. The best systems grew home automation step by step, not all at once.
Privacy, Security, and Responsible Choices
Smart homes handle sensitive data: when you are home, camera footage, and voice recordings. Make privacy and security non‑negotiable from day one.
Privacy basics
- Local control when possible: Prefer devices that work even if the internet goes down.
- Data minimization: Use local storage for cameras or end‑to‑end encrypted cloud storage.
- Clear permissions: In voice assistants, remove skills or integrations you do not use.
Security hygiene
- Two‑factor authentication (2FA): Enable it on your accounts and your router if supported.
- Unique passwords: Use a password manager; never reuse device defaults.
- Update firmware: Schedule a monthly check for updates to devices, hubs, and apps.
- Network segmentation: If feasible, place IoT devices on a guest or IoT VLAN to limit lateral access.
Future‑proofing and avoiding lock‑in
- Standards first: Favor Matter‑compatible gear and well‑supported brands.
- Bridge with care: Use bridges or hubs for reliability, not as a crutch for random devices.
- Document your setup: Keep a simple list of devices, locations, and what each routine does.
As you expand home automation step by step, you will appreciate a setup that continues working even if a vendor changes their app or service.
Troubleshooting and Optimization
Every smart home needs occasional tuning. Create a simple habit: when something fails, diagnose slowly and change one thing at a time.
Signal and interference
- Distance and walls: Dense materials block signals. Consider moving hubs centrally or adding repeaters.
- Channel selection: If you use Zigbee or Wi‑Fi, pick non‑overlapping channels to reduce interference.
- Device limits: Distribute devices across multiple access points if you have many Wi‑Fi gadgets.
Routine debugging
- Check triggers first: Confirm motion or contact sensor activity in the app’s history.
- Log conditions: Temporarily remove conditions to isolate the problem.
- Run actions manually: Make sure scenes and individual actions succeed alone.
- One change at a time: Adjust a single setting, then retest.
Performance tips
- Mesh wisely: For Zigbee and Thread, mains‑powered devices (like plugs) act as routers—place them strategically.
- Avoid Wi‑Fi overload: Use Zigbee/Thread sensors instead of dozens of Wi‑Fi sensors.
- Keep it simple: Consolidate overlapping routines to reduce conflicts.
Reliable systems are made, not found. A calm, methodical approach—home automation step by step—turns hiccups into learning moments.
Your 30/60/90‑Day Smart Home Roadmap
Days 1–30: Learn the basics
- Set up your primary ecosystem and update everything.
- Install one bulb, one plug, and one motion sensor.
- Create two scenes and one routine that triggers after sunset.
- Enable 2FA and save your Wi‑Fi and device credentials in a password manager.
Days 31–60: Add comfort and safety
- Add a smart thermostat or a temperature sensor plus automated fan/shade control.
- Set up a bedtime scene with lights, locks, and thermostat adjustments.
- Document each routine and name devices consistently.
- Test a geofencing routine for arriving home.
Days 61–90: Expand and optimize
- Add a smart lock or video doorbell focused on your main entry.
- Install leak sensors by water heaters, sinks, and laundry machines.
- Review energy data from smart plugs and adjust schedules.
- Refactor routines: remove duplicates, add conditions, and streamline triggers.
Keep the tempo manageable and iterate. The goal is steady progress—home automation step by step—so your household adapts naturally.
Budget Templates and Shopping Lists
Starter list (under $150)
- One voice assistant or smart display
- Two smart bulbs (tunable white)
- One smart plug with energy monitoring
Core list ($400–$700)
- One Matter‑capable controller (often your speaker)
- Four to six smart bulbs or two smart switches
- One motion sensor and one door sensor
- One smart thermostat or two temperature sensors
- One or two additional smart plugs
Expanded list ($800+)
- Smart lock for main entry
- Video doorbell or one outdoor camera with local storage option
- Water leak sensors (2–3)
- Mesh Wi‑Fi upgrade if signal is weak
Customize these lists for your home’s size, construction, and priorities. As always, expand home automation step by step to spread cost and learning.
Best Practices That Save Time and Money
- Name devices clearly: Room + Function, like Kitchen Ceiling or Entry Lamp.
- Group logically: Keep devices in rooms and areas that match your floor plan.
- Standardize: Use the same brands for similar roles when possible.
- Label physically: A small label under a switch cover saves headaches later.
- Backup and export: If your platform allows it, export configurations or back up your hub.
These habits are simple, but they compound—making your smart home easier to scale and troubleshoot. This is long‑term thinking applied home automation step by step.
Frequently Asked Questions
Do I need a hub?
Not always. Many devices work with Wi‑Fi or Bluetooth and connect directly to an app or a voice assistant. However, Zigbee, Z‑Wave, and Thread devices often benefit from a hub or border router. Hubs can increase reliability, add local control, and simplify automations.
Should I choose bulbs or switches?
For lamps and accent lighting, bulbs are flexible and inexpensive. For main room lighting, smart switches or dimmers are more reliable and intuitive for guests. A mix is common—bulbs where color matters, switches where everyday reliability is key.
How do I avoid vendor lock‑in?
Favor devices that support open standards like Matter, and choose ecosystems with a large developer community. Document your setup so moving later is easier. Building home automation step by step helps you test compatibility before going all‑in.
What about privacy with cameras and voice assistants?
Use local storage if possible, enable encryption, and carefully review sharing settings. For voice assistants, disable unused skills and routinely delete voice history. Place cameras only where they are truly useful.
Can I do this in a rental?
Yes. Focus on smart bulbs, plugs, sensors with adhesive mounts, and battery‑powered devices. Use scenes and routines that do not require rewiring. When you move, you can take everything with you.
A Friendly Wrap‑Up: Grow With Confidence
Great smart homes are not built in a weekend—they are refined over time. Start with one room, one routine, and one real problem to solve. Learn how devices talk, keep your network solid, protect your privacy, and document your wins. If you move carefully—home automation step by step—you will end up with a connected home that feels natural, saves time and energy, and simply works for you and your family.
Next steps
- Pick the first room and write one sentence describing the outcome you want.
- Buy only the minimum devices required to deliver that outcome.
- Build your first scene and trigger, test thoroughly, and iterate.
- Expand when you are ready, not because a deal looks tempting.
Your connected home journey should feel empowering, not overwhelming. Take the first small step today and enjoy the benefits tomorrow.